JetBrains PyCharmは、Ubuntuにインストールする方法です。 多くの素晴らしい機能と美しい外観の UI (ユーザー インターフェイス) を備えています。 この記事では、UbuntuにPyCharmをインストールする方法を説明します。 ここで示す手順は、Ubuntu 16.04 LTS 以降で動作します。 この記事のデモでは、Ubuntu 18.04 LTSを使用します。
UbuntuにPyCharmをインストールする前に、いくつかの前提条件となるパッケージをインストールしておく必要があります。
プロジェクトを実行するために、PyCharmで使用したいPythonインタプリタをインストールする必要があります。 また、使用する Python インタプリタ用に PIP をインストールする必要があります。
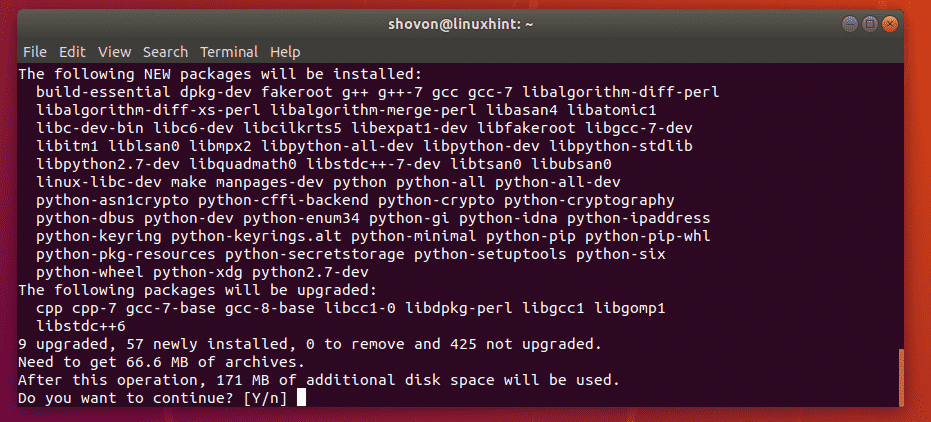
PyCharm で Python 2.x を使用したい場合、次のコマンドで必要なパッケージをすべてインストールできます。7 python-pip

ここで、yを押して、<Enter>を押してください。
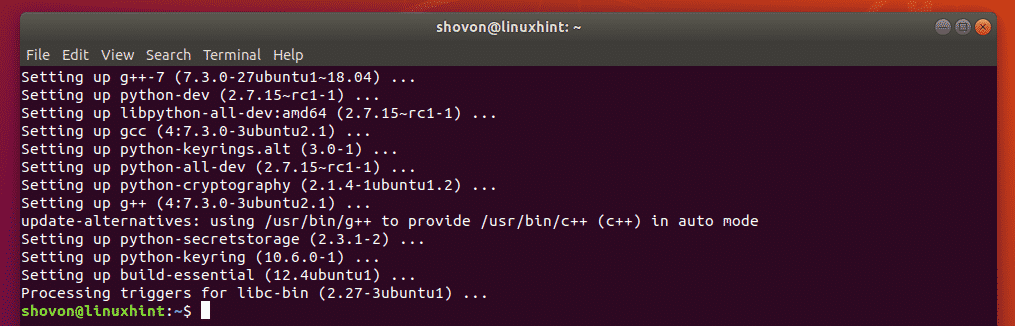
PyCharm で Python 2.x を扱うために必要なパッケージはすべてインストールされています。
もし Python 3.x を使用したいのなら、
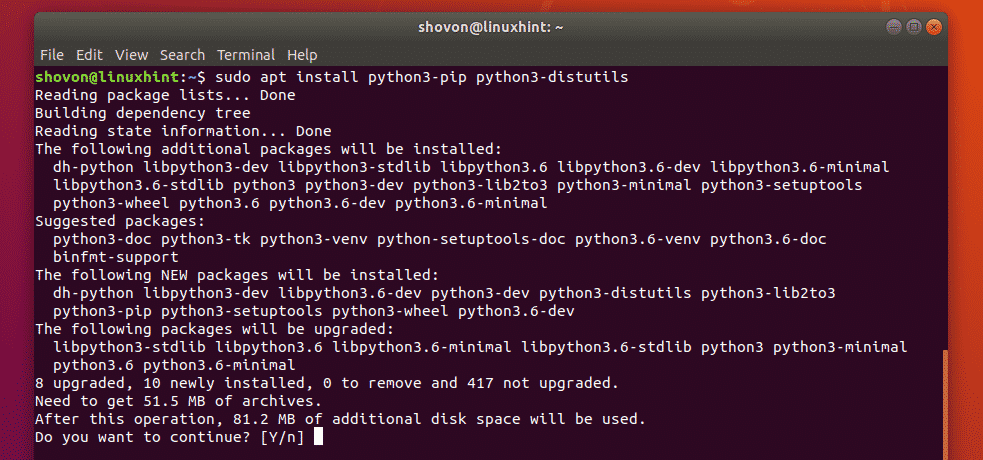
Python 3.x を使用するためのパッケージはすべてインストールされているはずです。x を PyCharm で使用する場合は、次のコマンドで必要なパッケージをすべてインストールします:

ここで、y を押して <Enter> で続行してください。
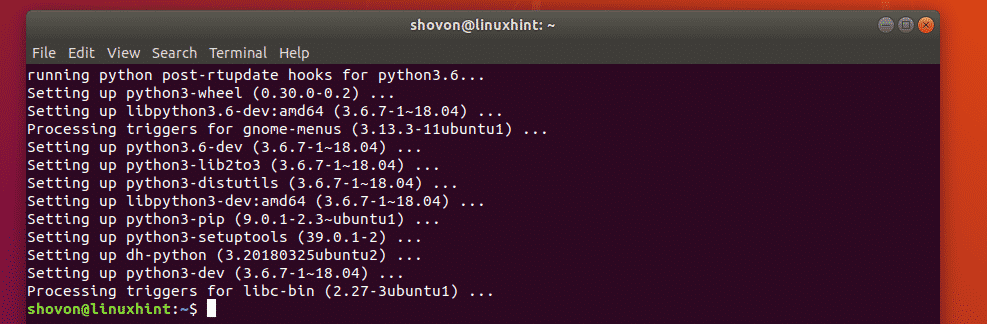
PyCharm で Python 3.x を扱うために必要なパッケージは、すべてインストールされています。
PyCharmのインストール:
PyCharmには2種類のバージョンが存在します。 Community版と、Professional版です。 Community 版は無料でダウンロードして使用できます。 プロフェッショナル版は無料ではありません。 Professional版を使用するにはライセンスを購入する必要があります。 Community版は、ほぼ問題なく使用できます。 しかし、それはプロフェッショナル版の高度な機能のいくつかを欠いている。
Ubuntu 16.04 LTS 以降では、PyCharm Community と Professional の両方のバージョンが、公式スナップパッケージレポジトリでスナップパッケージとして提供されています。
Ubuntu 16.04 LTS以降でPyCharm Communityバージョンのスナップパッケージをインストールするには、次のコマンドを実行します:
Ubuntu 16.04でPyCharm Professionalバージョンをスナップパッケージでインストールするには、次のコマンドを実行します。4886>
今回はPyCharm Community版で行きます。

ご覧の通りPyCharm Community版のスナップパッケージがダウンロードされている状態になっていますね。

PyCharm Community版がインストールされました。

PyCharmの初期設定:
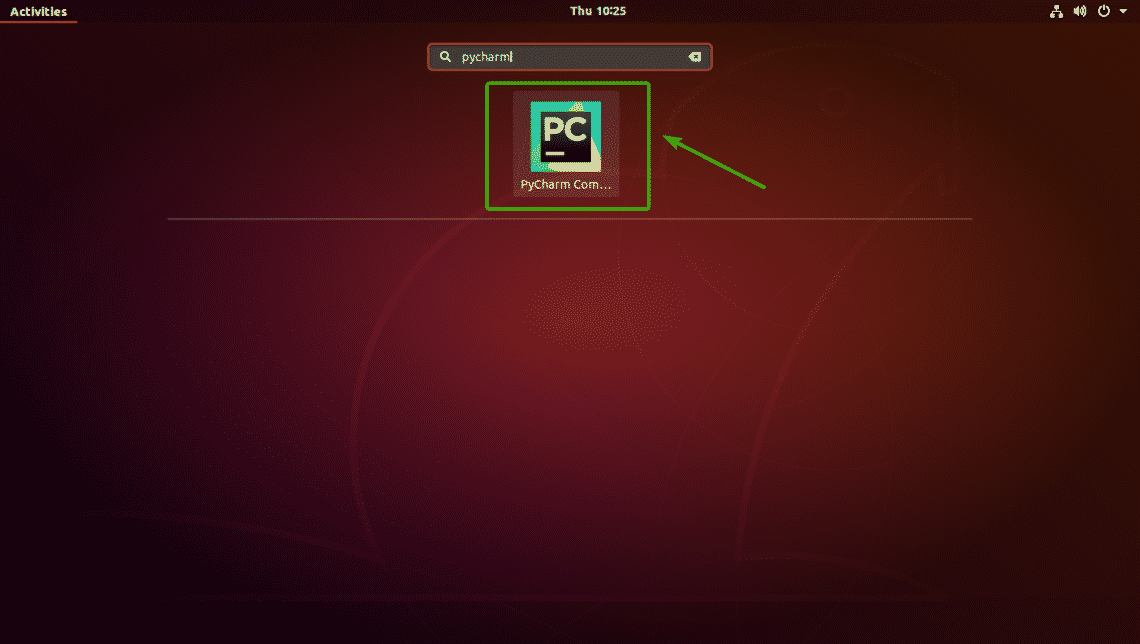
これで、Ubuntu のアプリケーションメニューから PyCharm を開始できるようになりました。 アプリケーションメニューでpycharmを検索すると、下のスクリーンショットに示すようなPyCharmのアイコンが表示されるはずです。
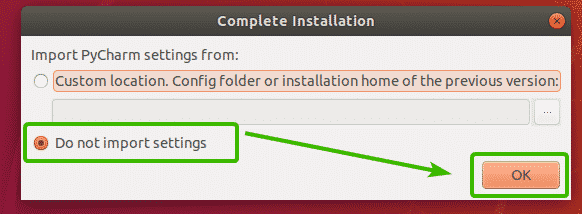
PyCharm を初めて起動する場合、いくつかの初期設定を行う必要があります。 以下のウィンドウが表示されたら、Do not import settings をクリックして OK をクリックします。
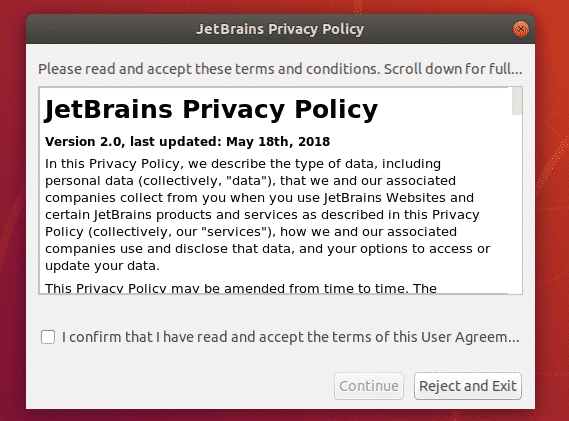
ここで、JetBrains license agreement のウィンドウが表示されるでしょう。
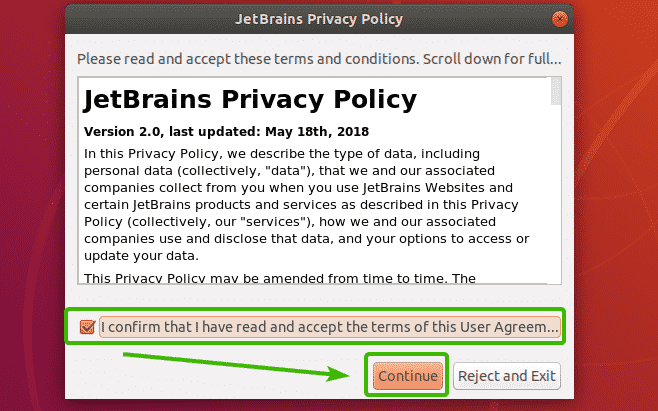
ここで、I confirm that I have read and accept the terms of this User Agreementをクリックして、Continueをクリックしてライセンス契約に同意します。
ここでPyCharmのUIテーマを選択する必要があります。 ダークテーマであるDarculaかライトテーマを選択します。
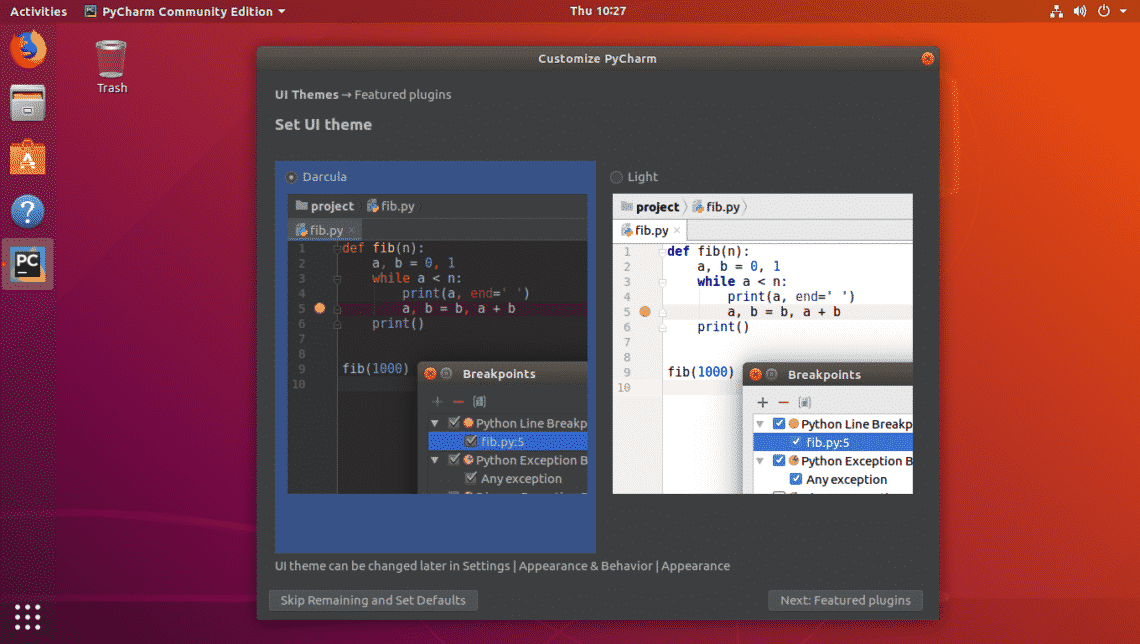
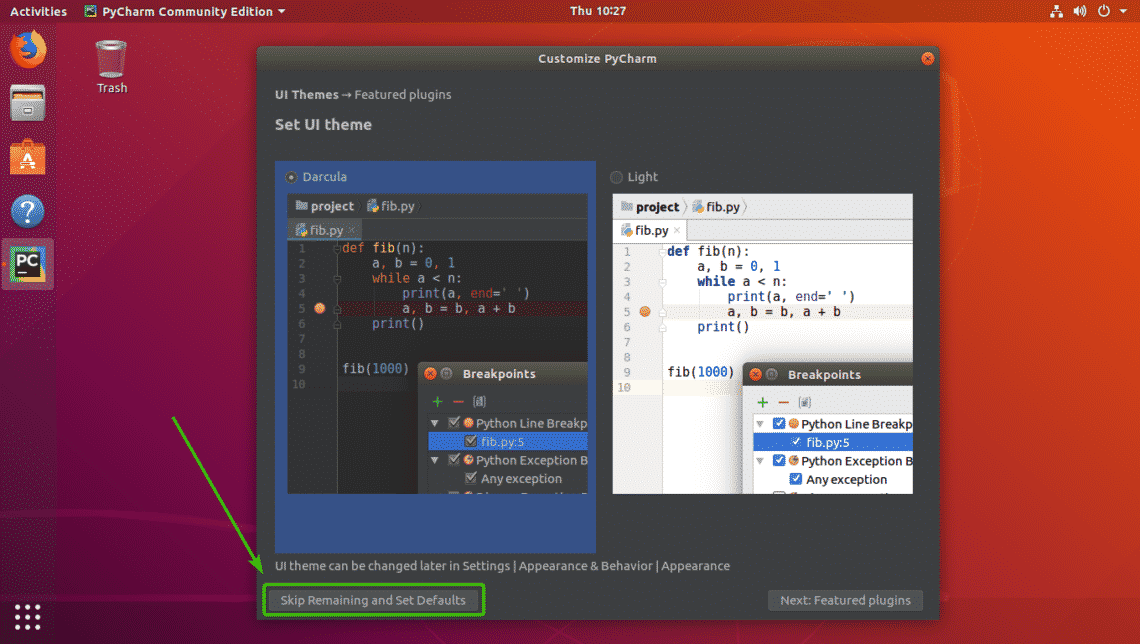
テーマを選択したら、Skip Remaining and Set Defaultsをクリックして他のすべてをデフォルトに設定してPyCharmを起動できます。
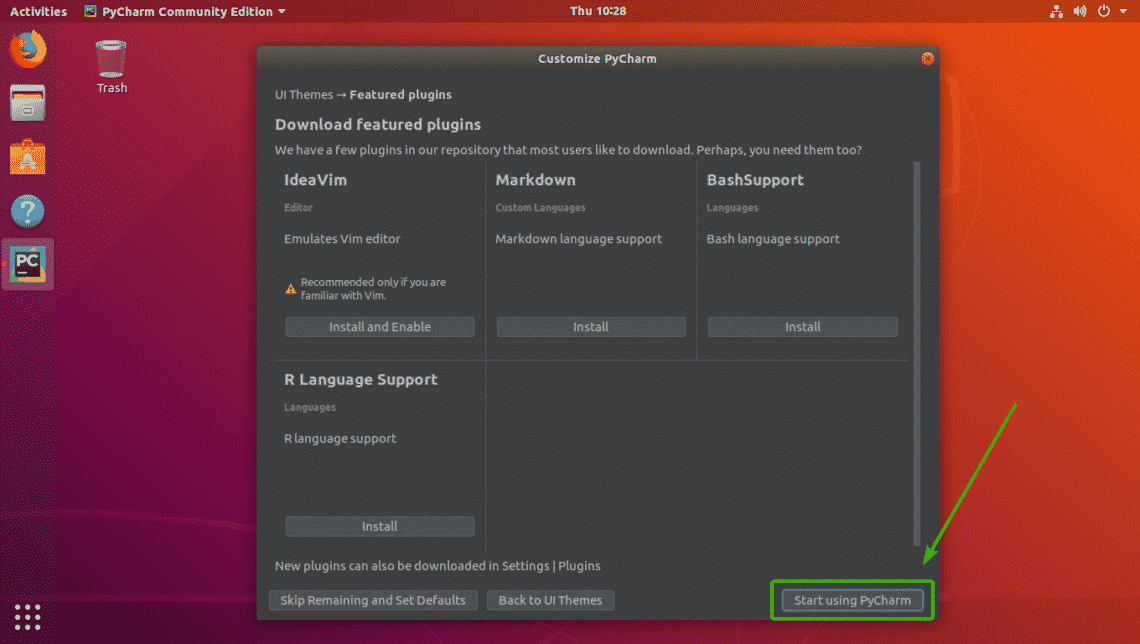
さもなければ、Nextをクリックして下さい。 Featured plugins.
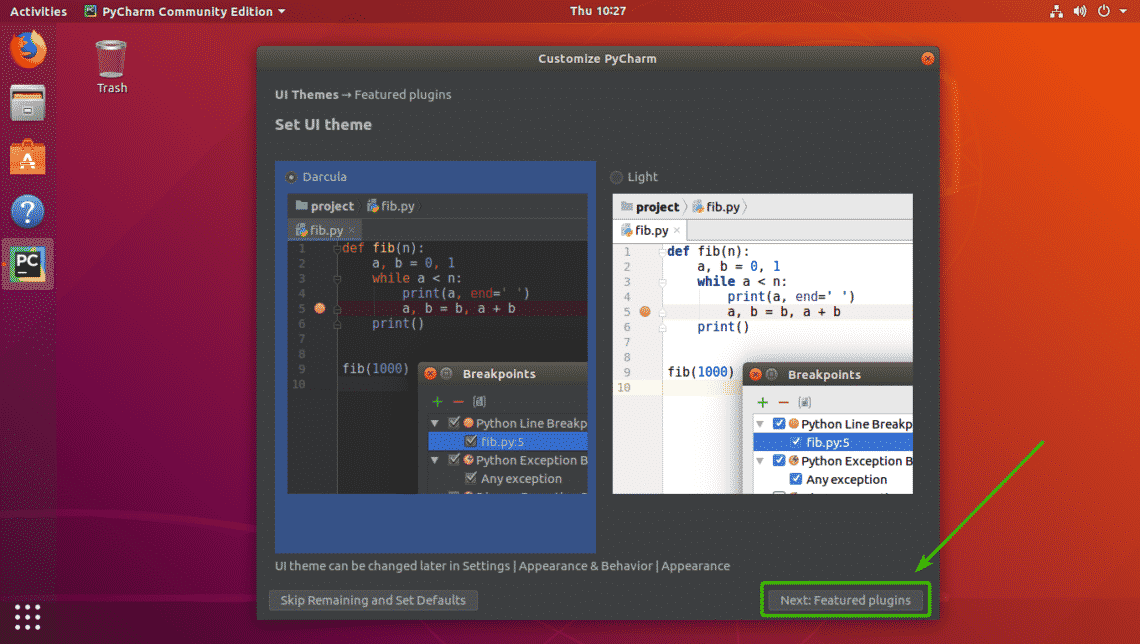
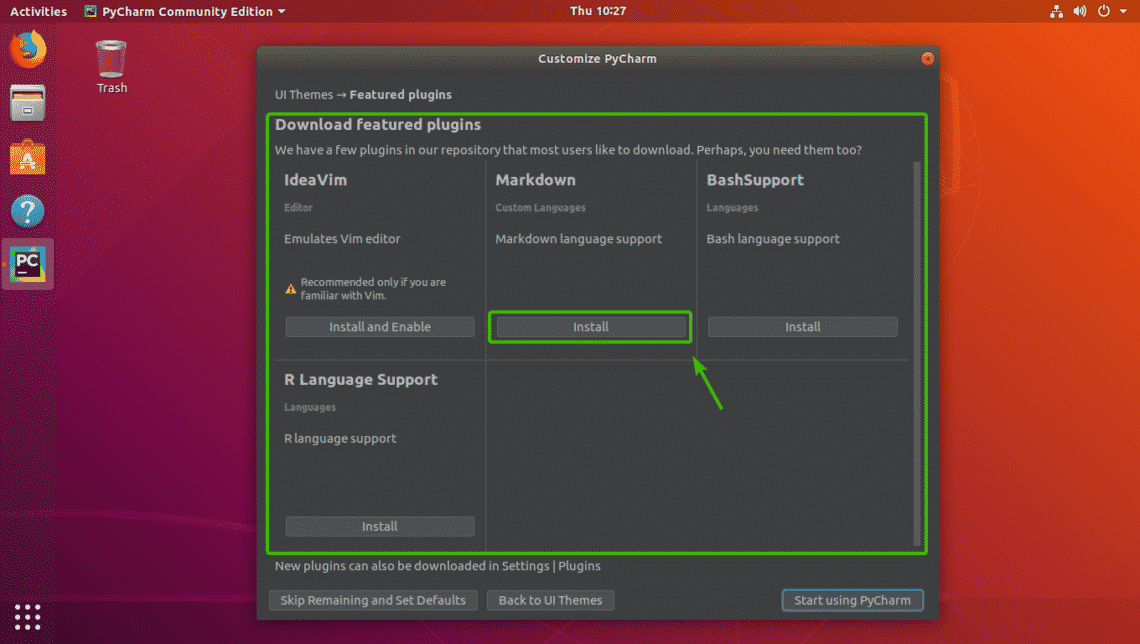
一度、[Next]をクリックしてください。 Featured pluginsをクリックすると、PyCharmはインストールしたい一般的なプラグインをいくつか提案してくれます。
ここで、Start using PyCharmをクリックします。
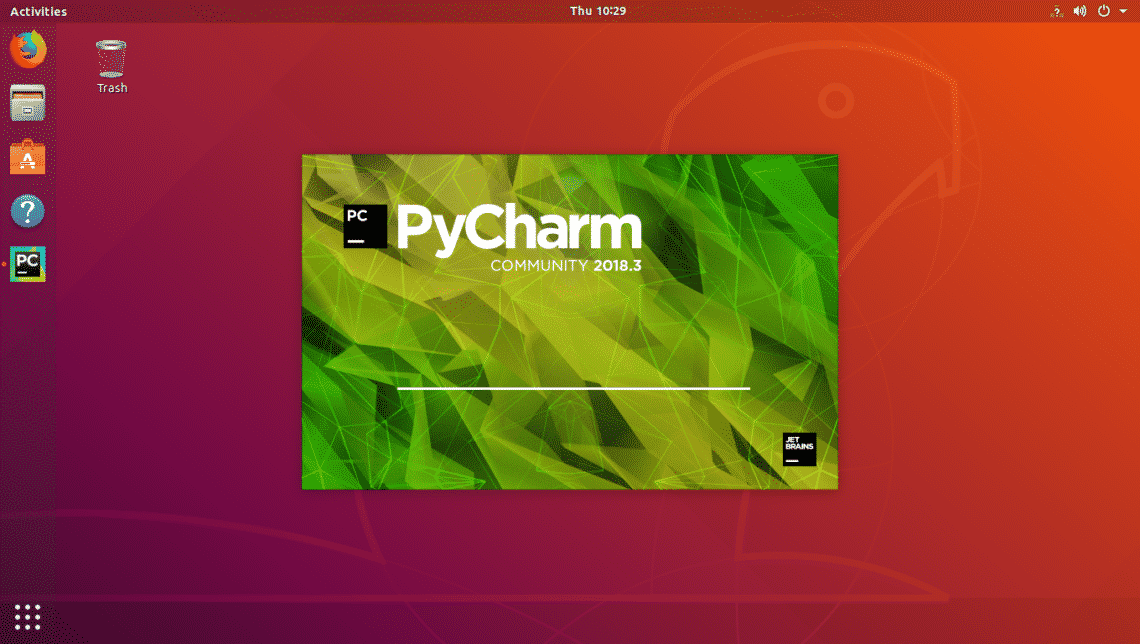
このように、PyCharmは起動します。
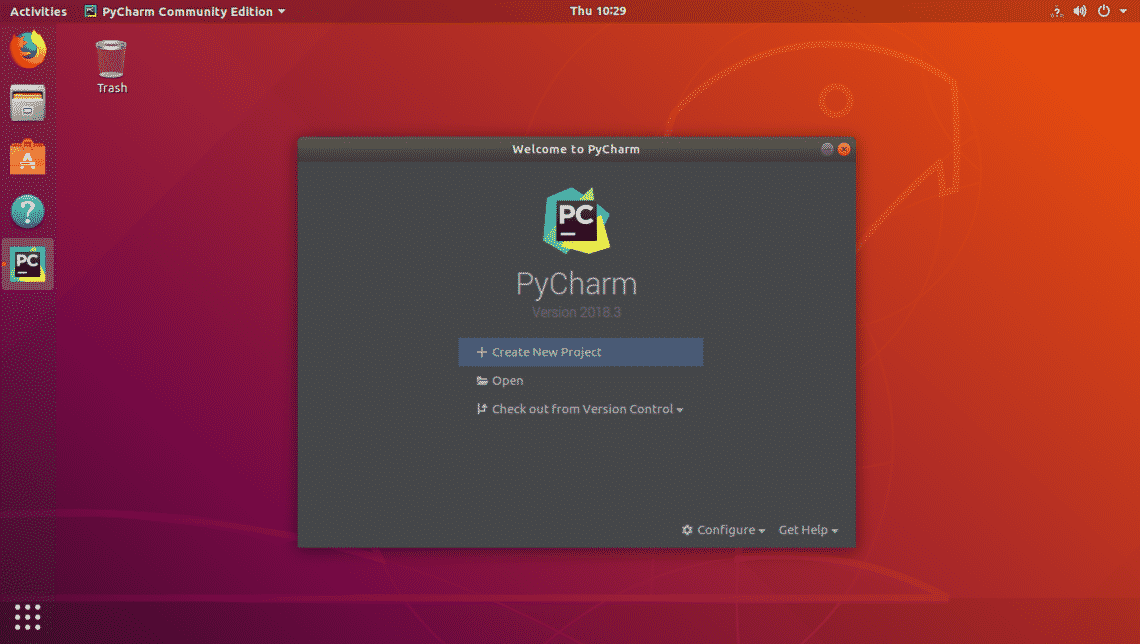
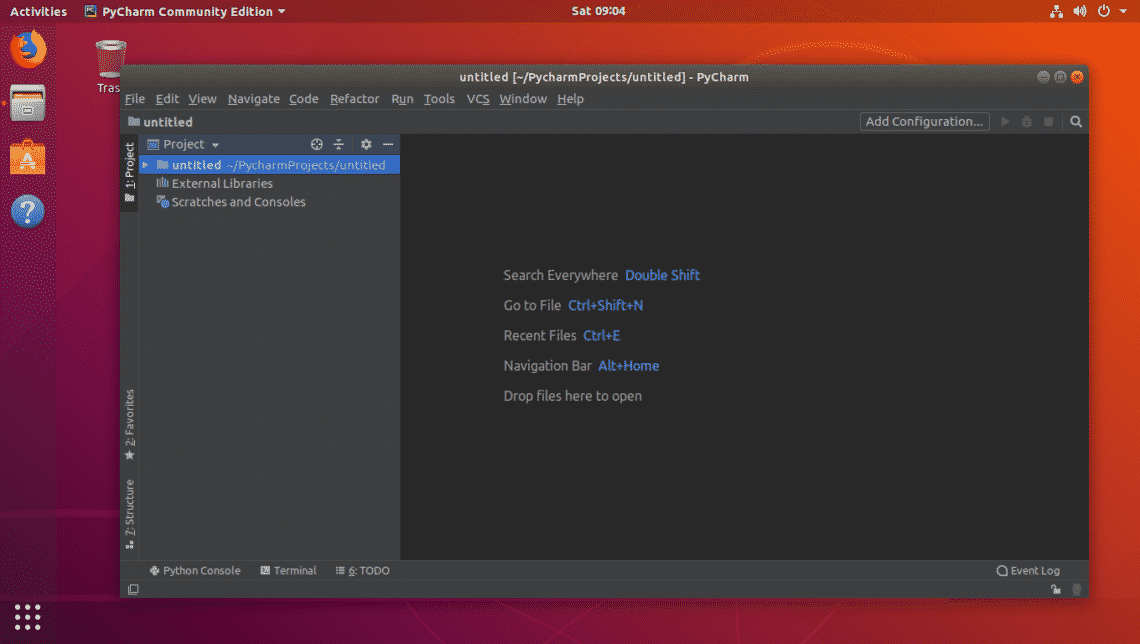
PyCharmは起動しています。 これはPyCharmのダッシュボードです。
PyCharmでプロジェクトを作成する:
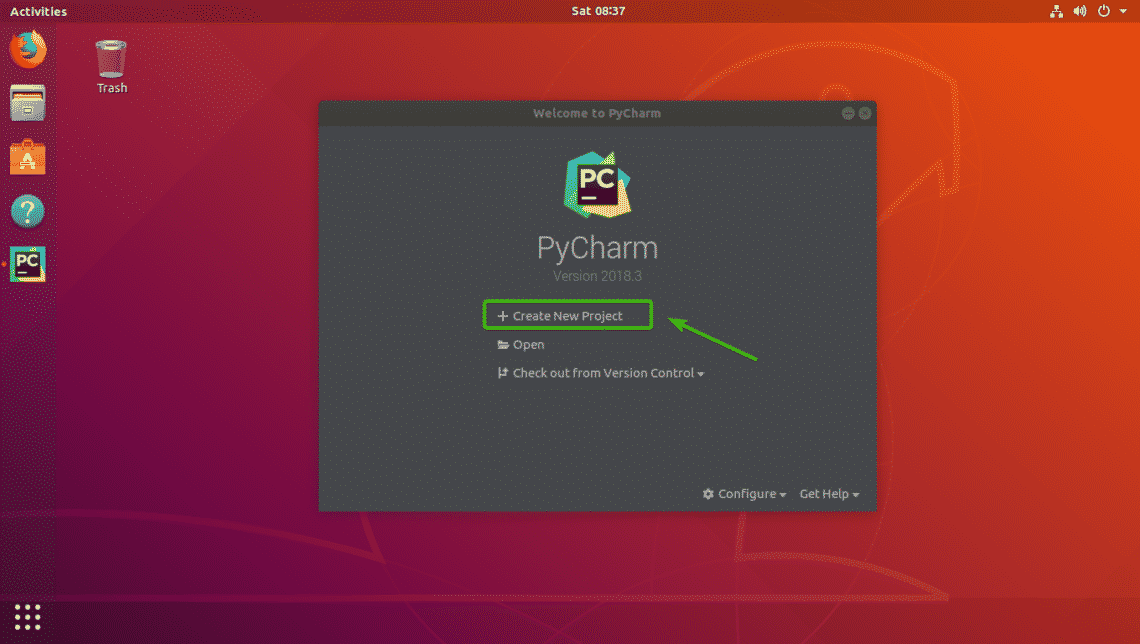
このセクションでは、PyCharmでPythonプロジェクトを作成する方法について説明します。まず、PyCharmを開き、「新規プロジェクトの作成」をクリックします。
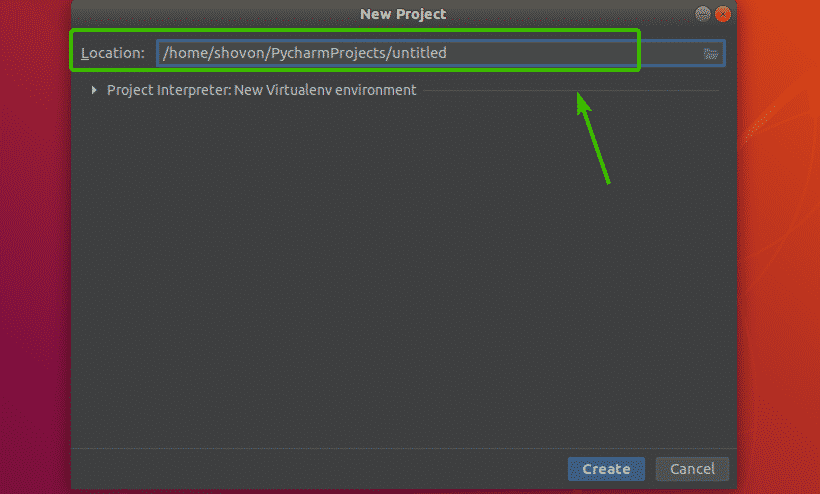
ここで、新しいプロジェクトの場所を選択します。 これは、このプロジェクトのすべてのファイルが保存される場所です。
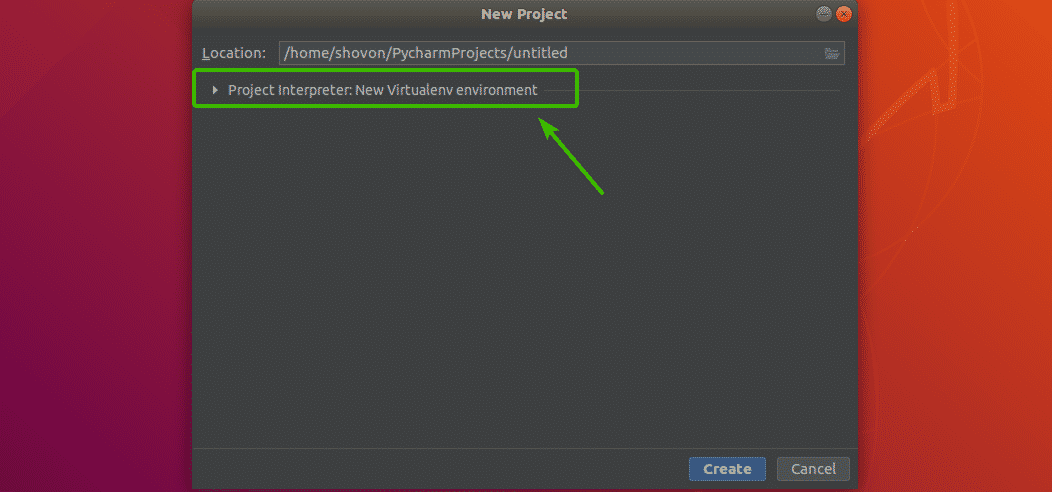
必要であれば、プロジェクトのデフォルトの Python バージョンも変更することが可能です。 それを行うには、[Project Interpreter] セクションをクリックして展開します。
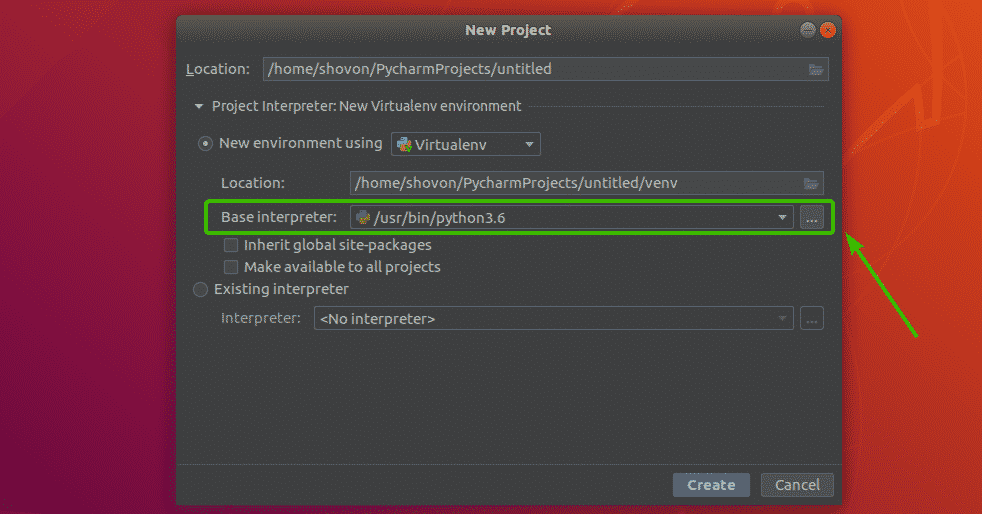
ここで、ベース インタープリター セクションでは、デフォルトで Python 3.6 を選択していることが確認できます。 これは、私の Ubuntu 18.04 LTS マシンにインストールされている Python 3 の最新バージョンです。 Pythonのバージョンを変更するには、Base interpreterのドロップダウンメニューをクリックします。
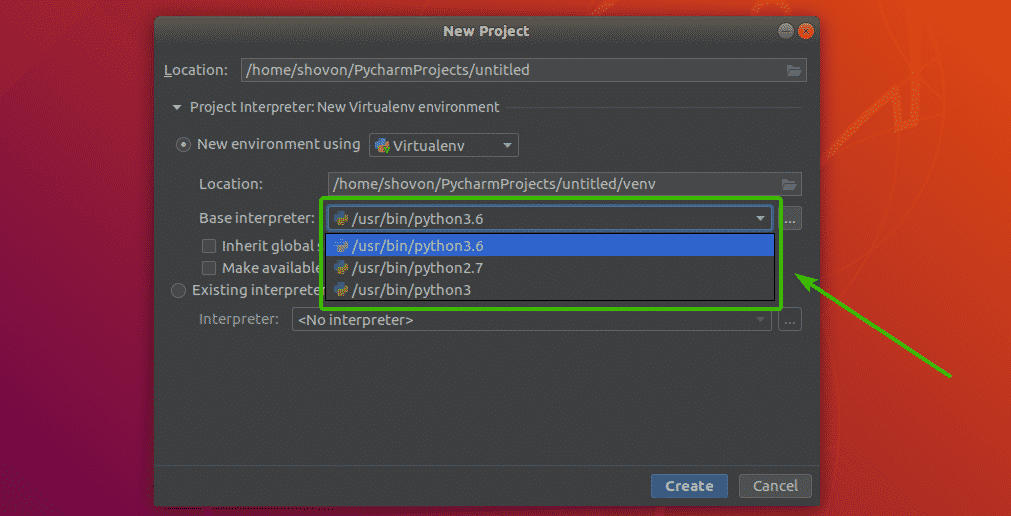
ご覧のように、私のUbuntu 18.04 LTSマシンにインストールされているすべてのPythonバージョンがここにリストアップされています。 リストから必要なものを選ぶことができます。
すべての設定に満足したら、[作成]をクリックします。

プロジェクトは作成されるはずです。
ここで、新しい Python スクリプトを作成するには、下のスクリーンショットでマークされているように、プロジェクト上で右クリックして、「新規 > Python ファイル」を選択します。
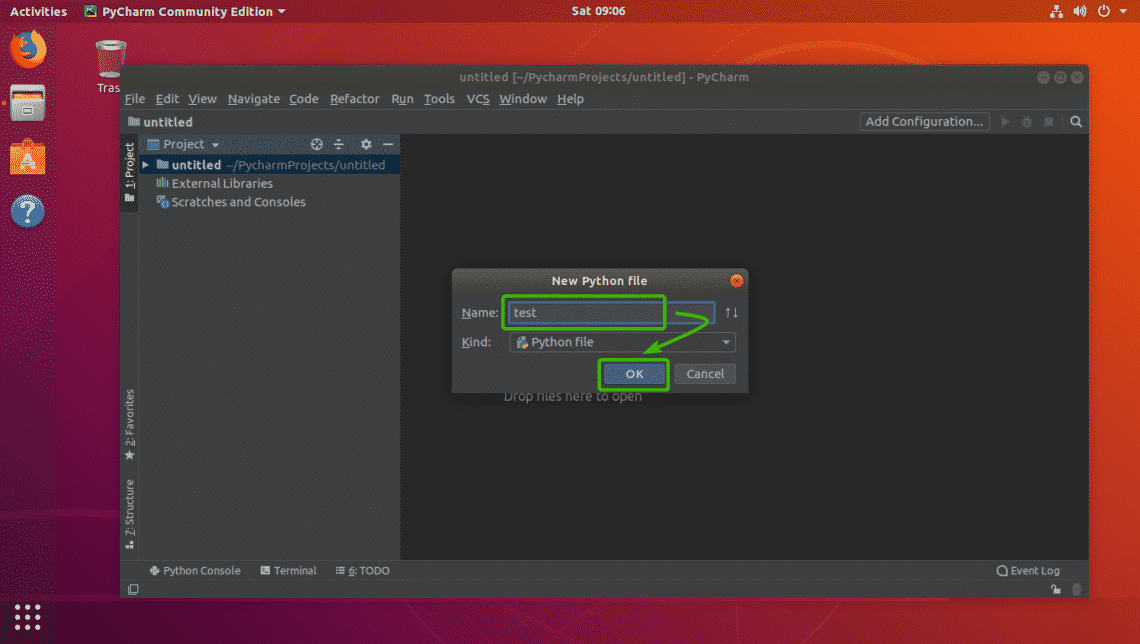
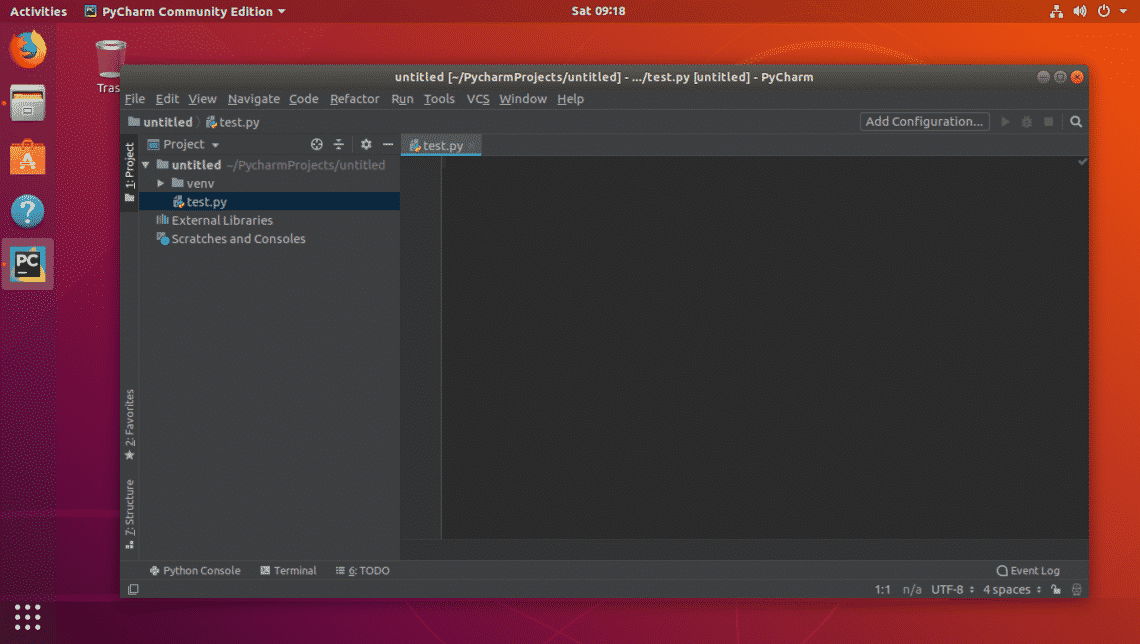
ご覧のように test.py ファイルが作成されて PyCharm のエディタセクションで開かれます。
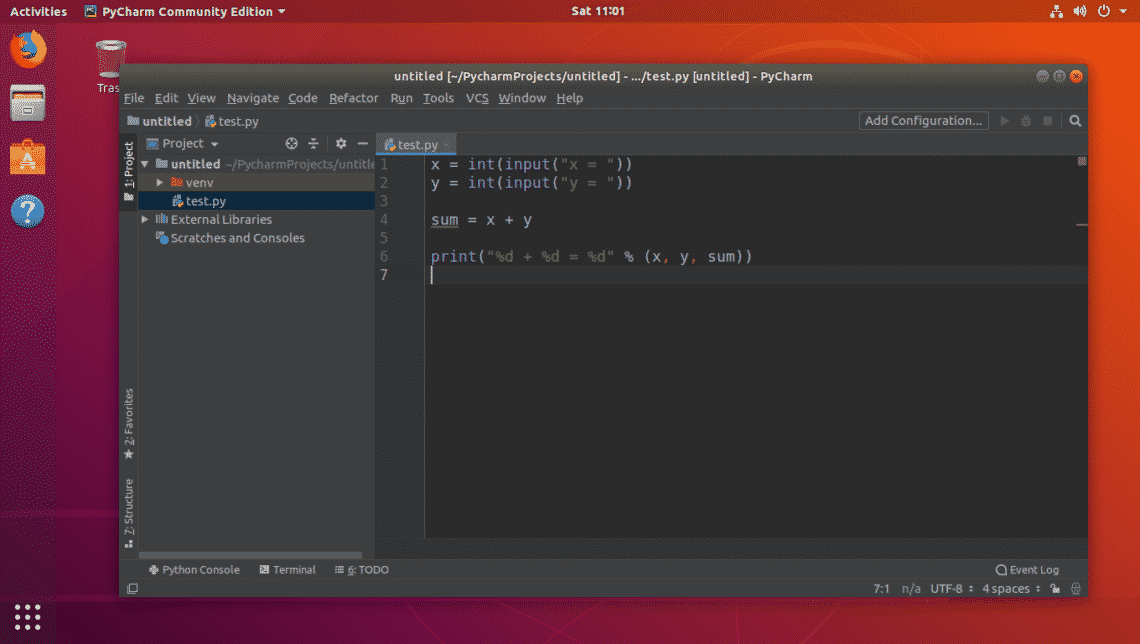
ご覧のように非常に基礎的な Python スクリプトを書いています。
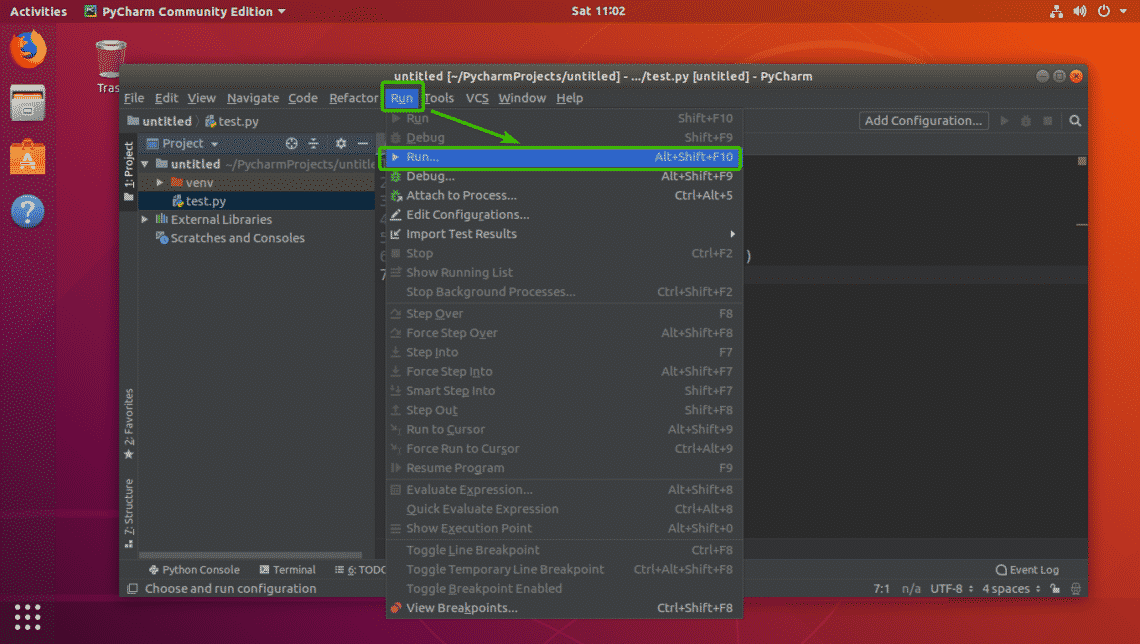
さて、現在エディタで開いている Python スクリプトを実行するには、下のスクリーンショットでマークしたように <Alt> + <Shift> + <F10> または Run > Run… を押してください。
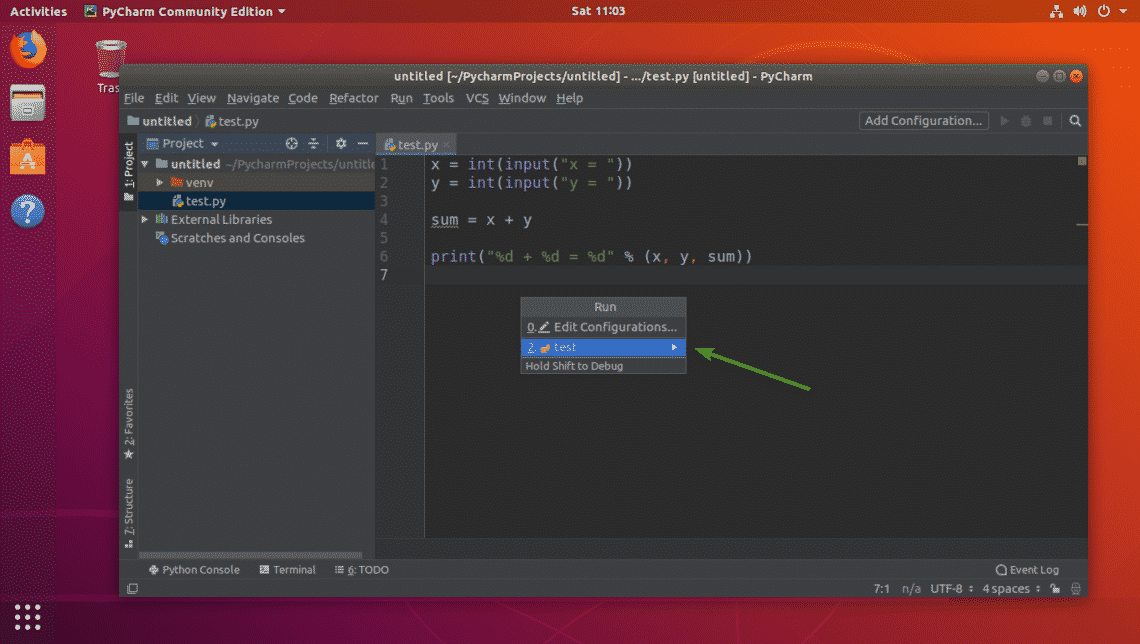
ご覧のように、現在エディタで開いているPythonスクリプトはここに表示されています。 <Enter> を押してください。
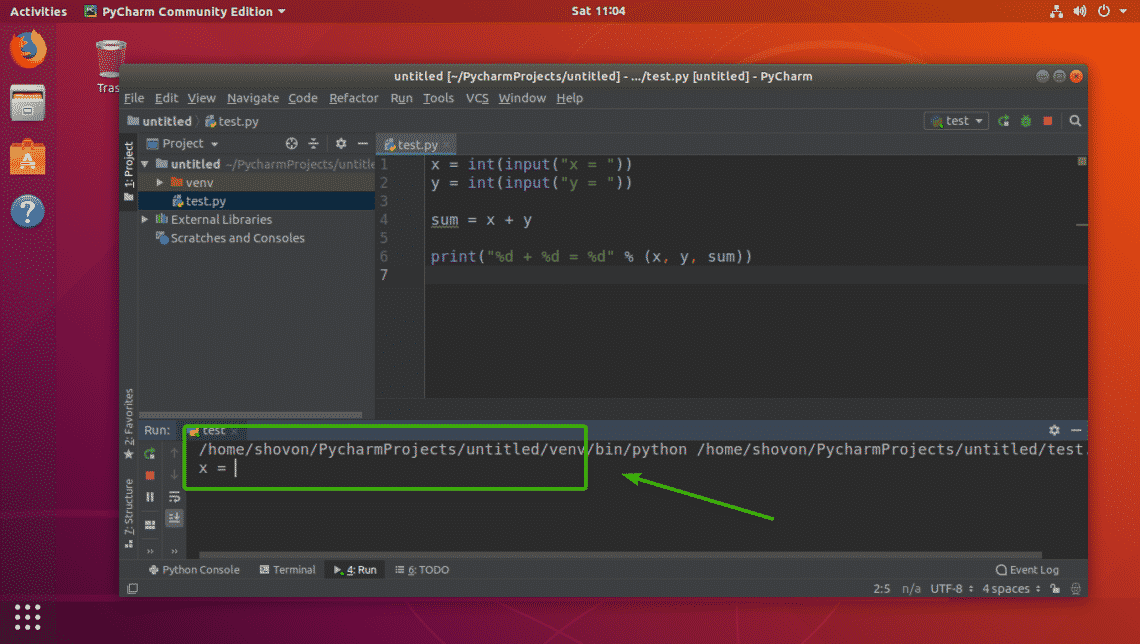
このように、スクリプトが実行されていることが確認できます。
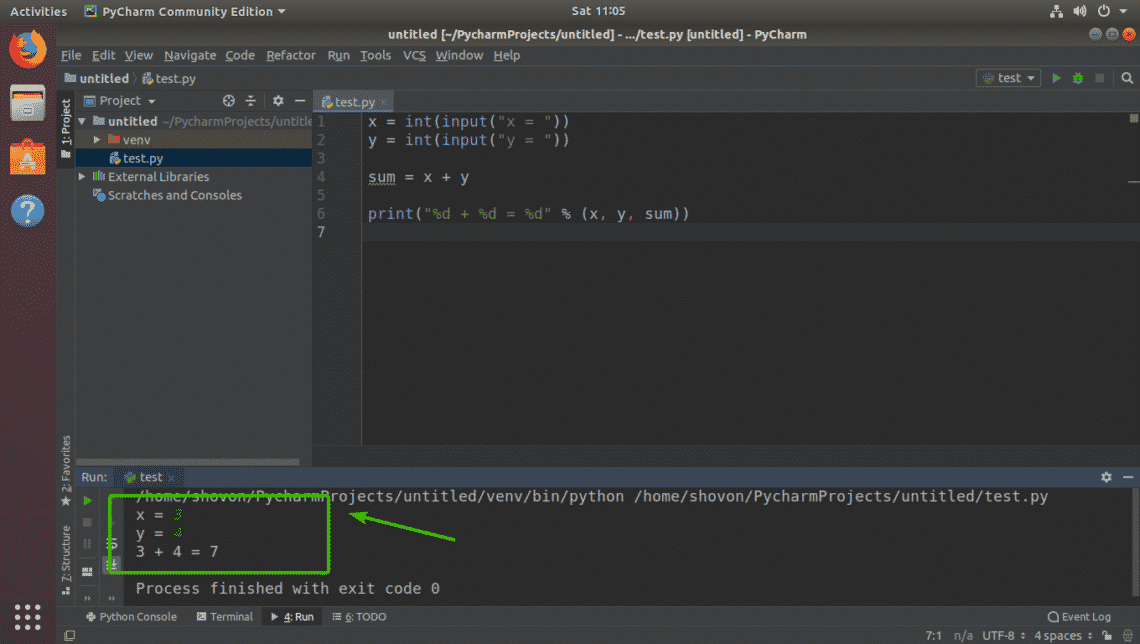
すべての入力を入力したら、希望の出力も得られます。
以上が、UbuntuでのPyCharmインストールと使用方法でした。 この記事を読んでいただきありがとうございました。